$0.00-$0.00 $0.00
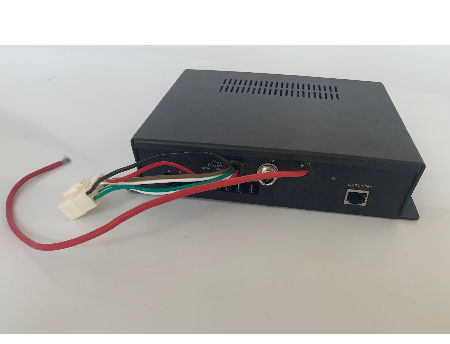
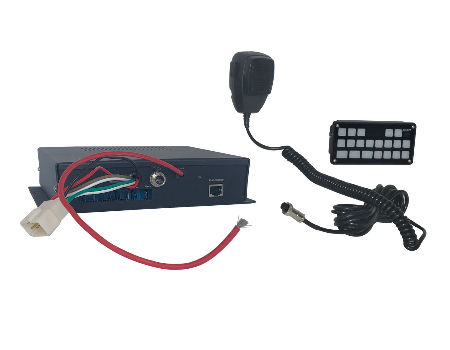
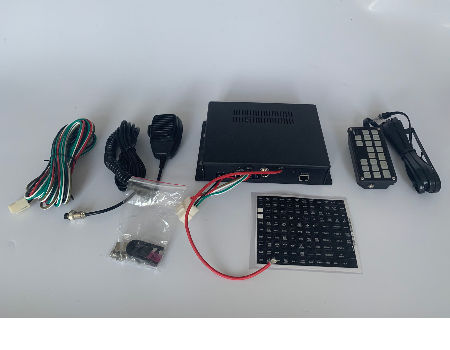
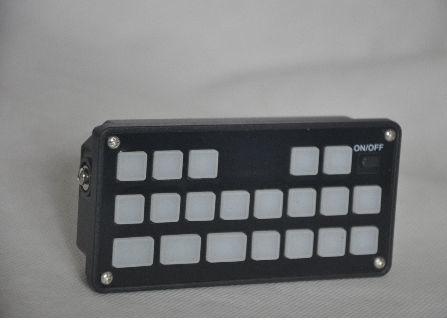
Description:This product features 20 control buttons and 5 siren tones including wail, yelp, phaser,Hi-lo and Siren, For your convenience, there are also 3 momentary buttons to controlmultiple lights with multiple flash patterns.To program functions on a memory button,make sure the control head is activated and thepower switch is on. press the activated memory button once, select the modes andbuttons desired to be programmed for the memory function. With its standard wire blocks,the installation and wiring of the system is fast and easy.Voltage: 12V/24VPower: 100W/200W/300W availableAmplifier Size: 9.27" *2.90"*6.03 "deep
The Ultimate Siren control panels are packaged with the U-Bracket installed on the unit. In order
to install the bracket onto a surface mount, follow the next steps. If mounting the control head into a
console, just follow step 2 and then proceed to read the console mounting instructions.
Remove each screw with a Phillips screwdriver from each side of the U-Bracket.Remove the
bracket from the control panel. Set aside the screws, as they are required for Step 6.
Locate a suitable mounting surface. Make sure no vital components will be damaged in the
following drilling process.
Position the bracket on the surface mount and mark the two mounting holes, corresponding with
the U-Bracket to the surface.
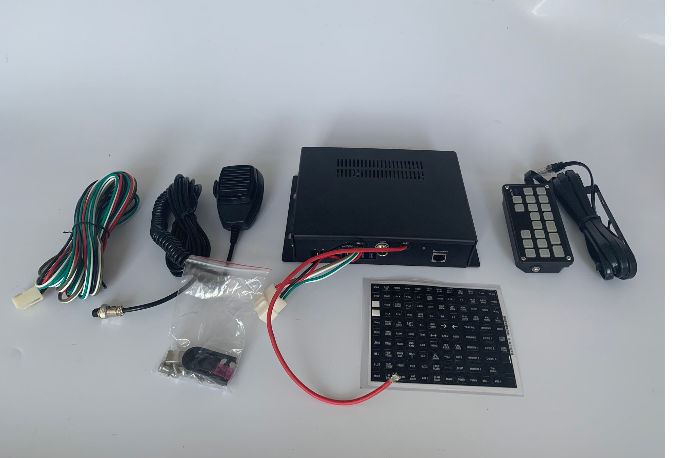
1. The Ultimate Siren control panel features three programmable memory functions. The memory
buttons can control as many options as desired.
2.To program functions on a memory button, make sure the control head is activated and the power
switch is on.
3. Press the activated memory button once.
4. Select the modes and buttons desired to be programmed for that memory function. Do so, by
pressing each button once. If a button is selected by accident, press that button again to turn it off.
5.After selecting all the desired options/buttons, press and hold the memory button for 3 seconds,
until the control head emits a loud beep signal. This indicates that the selected buttons are now
programmed onto that memory button.
6. Label the memory button with the provided sticker label.
7. Repeat Steps 3-6 to program the other two memory buttons.
8. If the control head switch is turned off and then reactivated, this will recall the last buttons
programmed. This will occur only once. To prevent re occurrence, manually press each selected
buttons once to turn them off. This will not affect the memory buttons and functionality
FOB Port:Ningbo
Lead Time:8 - 10 days
HTS Code:8512.30.19 00
Dimensions per Unit:9.27 × 2.9 × 6.03 Inches
Weight per Unit:2.3 Kilograms
Units per Export Carton:10
Export Carton Dimensions L/W/H:9.5 × 14.6 × 12.08 Inches
Export Carton Weight:24 Kilograms
Asia
Australasia
Central/South America
Eastern Europe
Mid East/Africa
North America
Western Europe
Any third-party trademarks or images shown here are for reference purposes only. We are not authorized to sell any items bearing such trademarks.
Payment Method:Telegraphic Transfer (TT,T/T)
Brand-name Parts
Origin
Distributorships Offered
Experienced Staff
Green Product
Guarantee/Warranty
International Approvals
Military Specifications
Packaging
Price
Product Features
Product Performance
Prompt Delivery
Quality Approvals
Reputation
Service
Small Orders Accepted